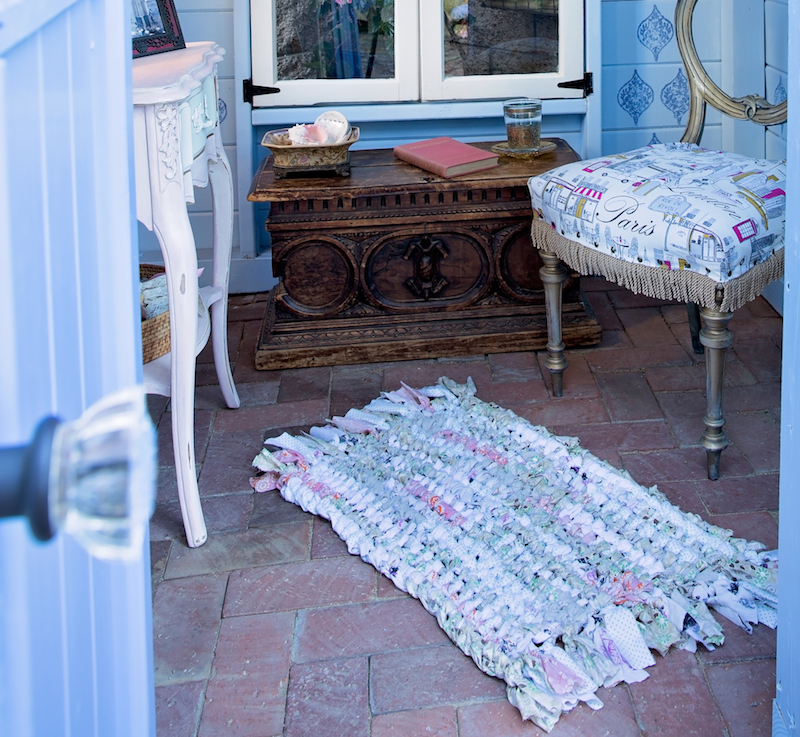
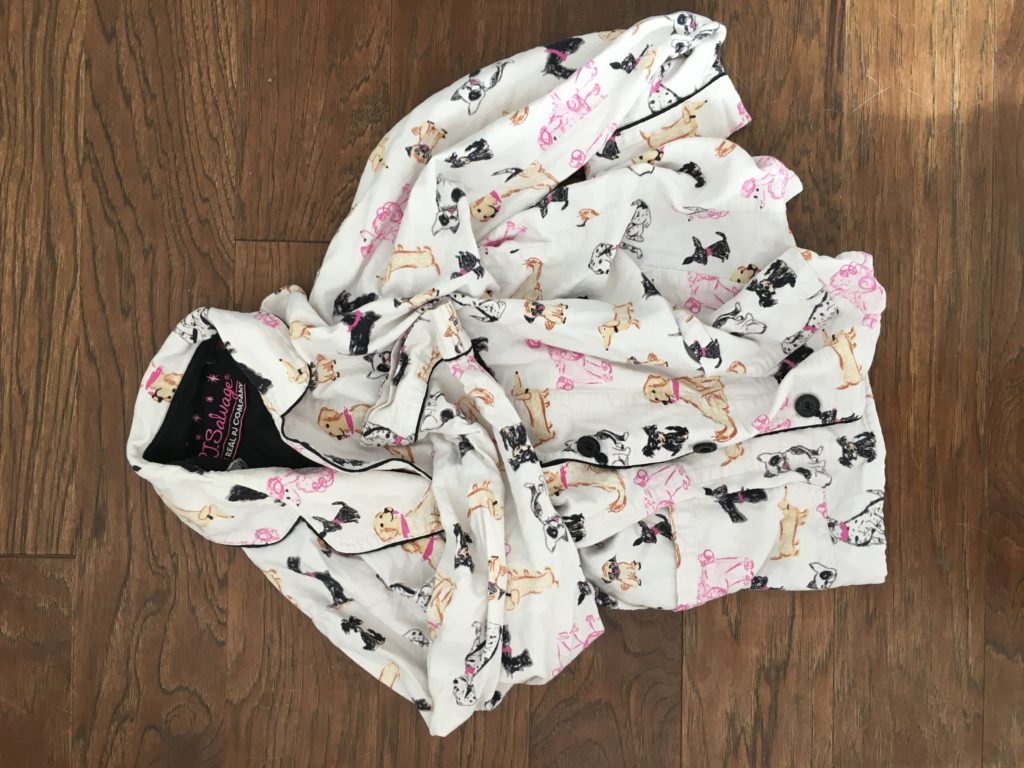
I have an odd habit of saving bits of clothing that have meaning, like my daughter’s worn-out pajama bottoms that she wore for many years. Even my cousin contributed her puppy pajama top.
Sound like you? Then you’ll love making this easy rag rug. Rag rugs involve no sewing at all and if you have the fabric already, they cost almost nothing. The interwoven pieces of fabric provide diffuse bits of color that can complement your shed’s decor. For me, this was a highly satisfying and sentimental project.
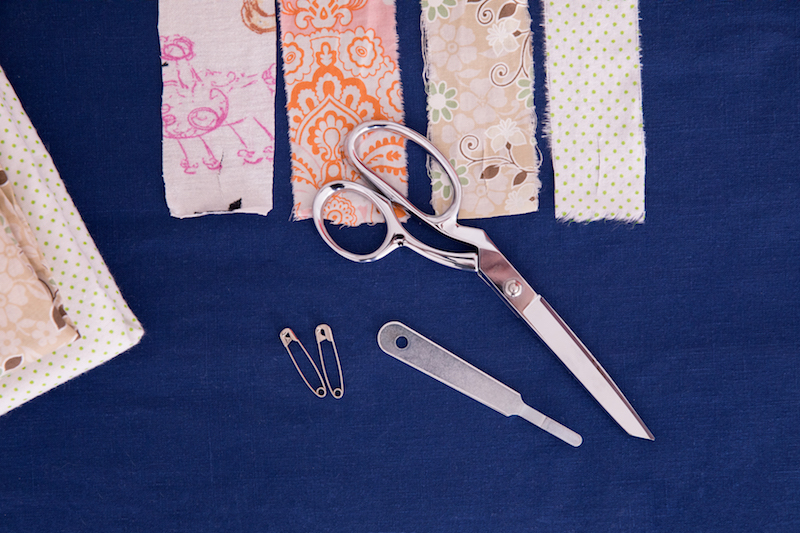
Materials
Washable cotton fabric in various patterns and colors
Tools
Scissors
Ironing board
Safety pins
Rag rug tool
Instructions
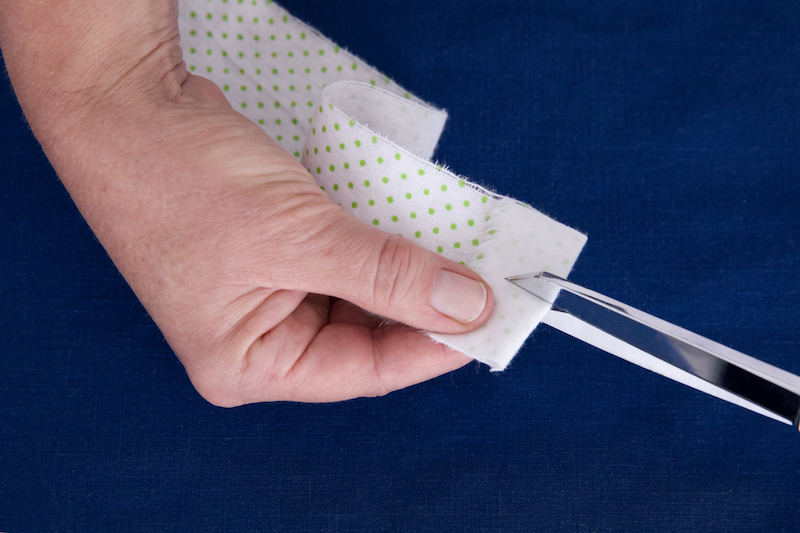
Step 1 For the rug shown here, I cut my fabric into long 2″-wide strips. (The strips don’t have to be a uniform length; this is a good thing if you are using pieces of your cousin’s beloved puppy pajama top!)
Folding the ends of each strip over about 1″, I cut a 1/2″ slit in the center. (The slit allows you to knot strips together.) Both ends of every strip need a slit.
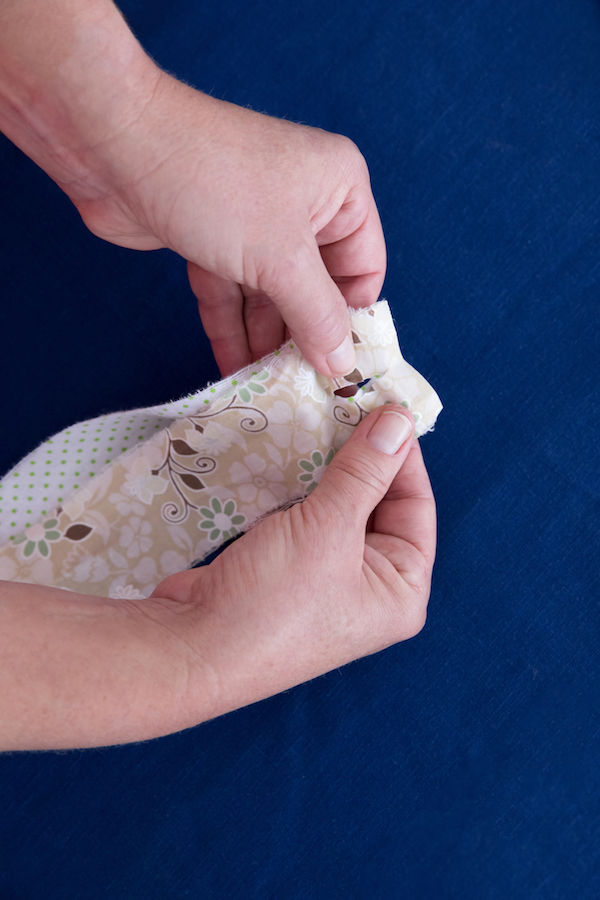
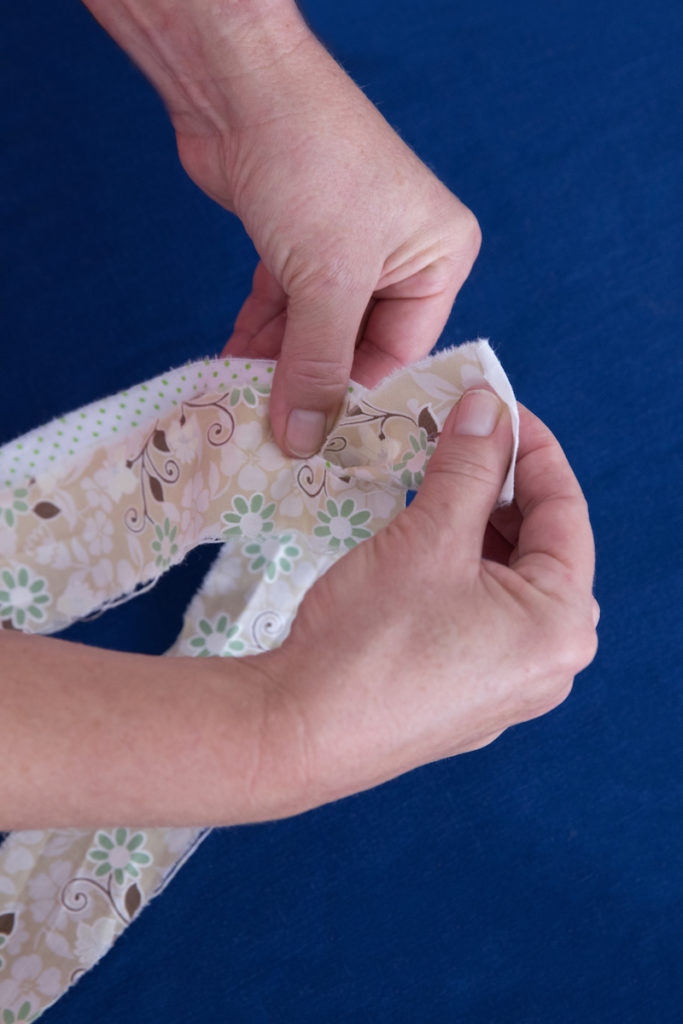
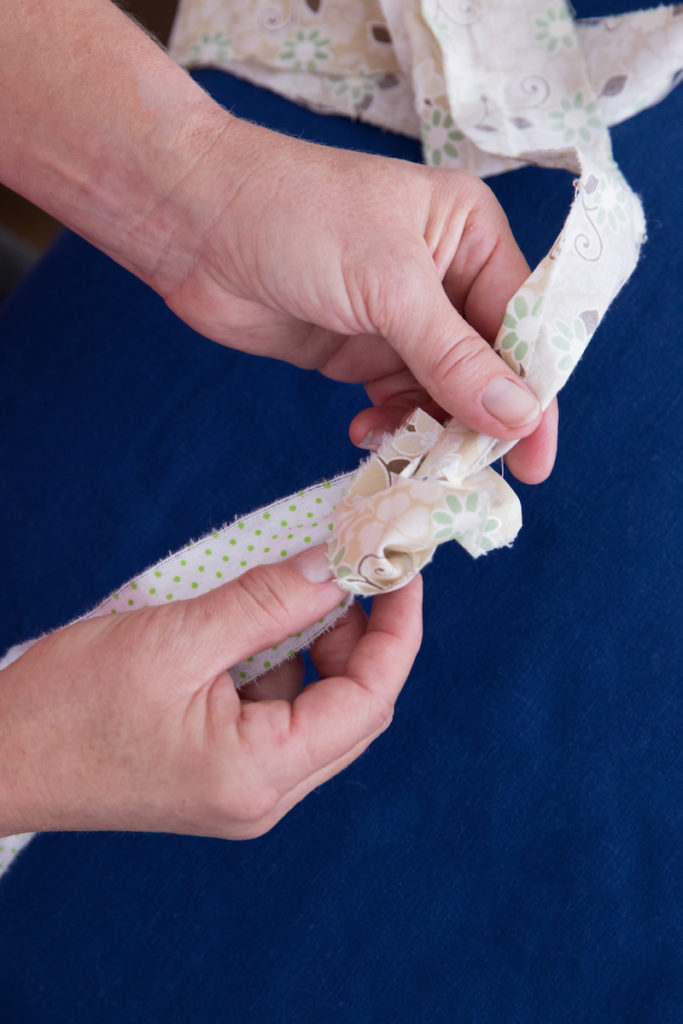
Step 2 Starting with a base strip and a knotting strip, I tied the two together by putting the knotting strip on top of the base strip, matching slits. Then, I took the other end of the knotting strip and pulled it through the back of both slits. Pull firmly to make a knot.
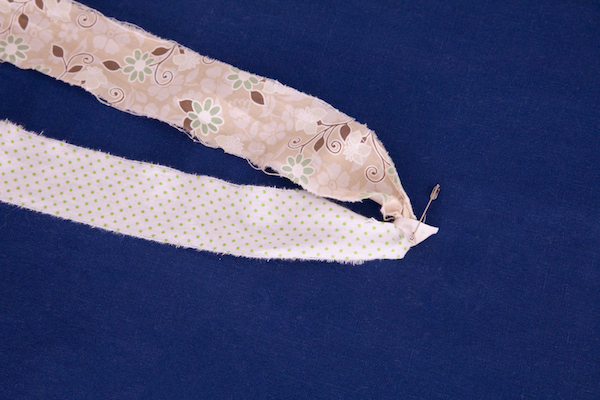
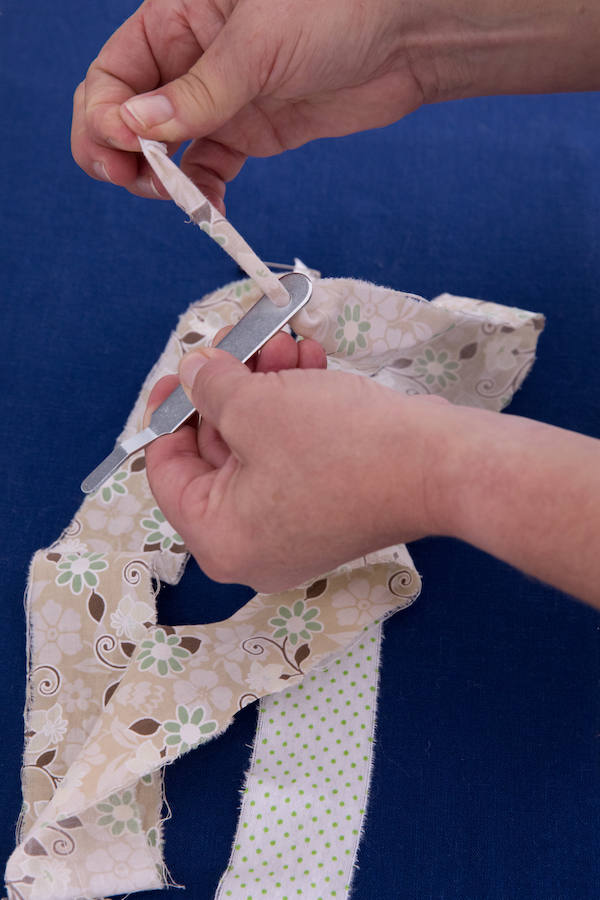
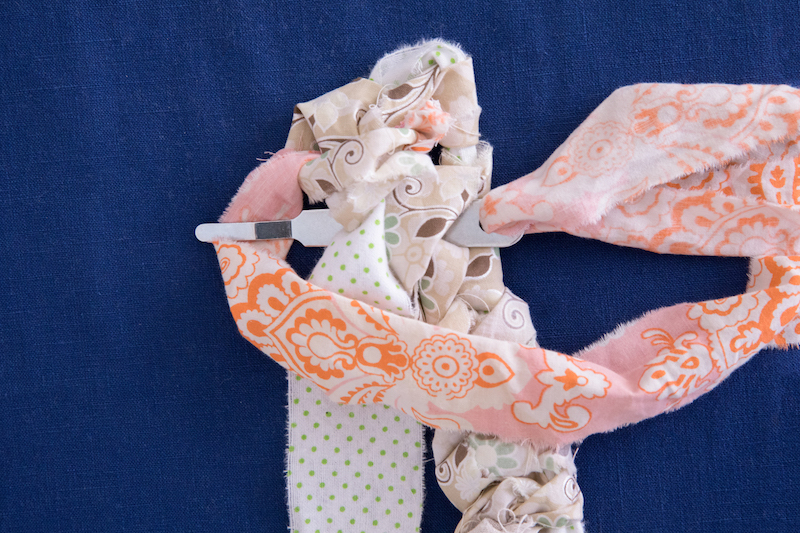
Step 3 Place the base strip on an ironing board, with the knot on your right, and secure both ends by pushing a safety pin into the ironing board cover. The knotting strip should be free above it. Thread the knotting strip through the rag rug tool; I kept a short tail of about 3″.
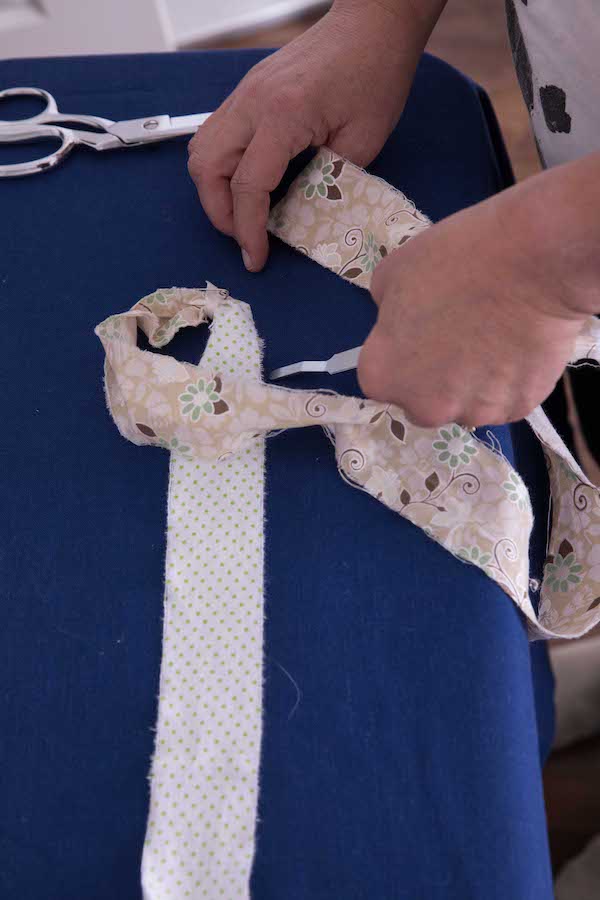
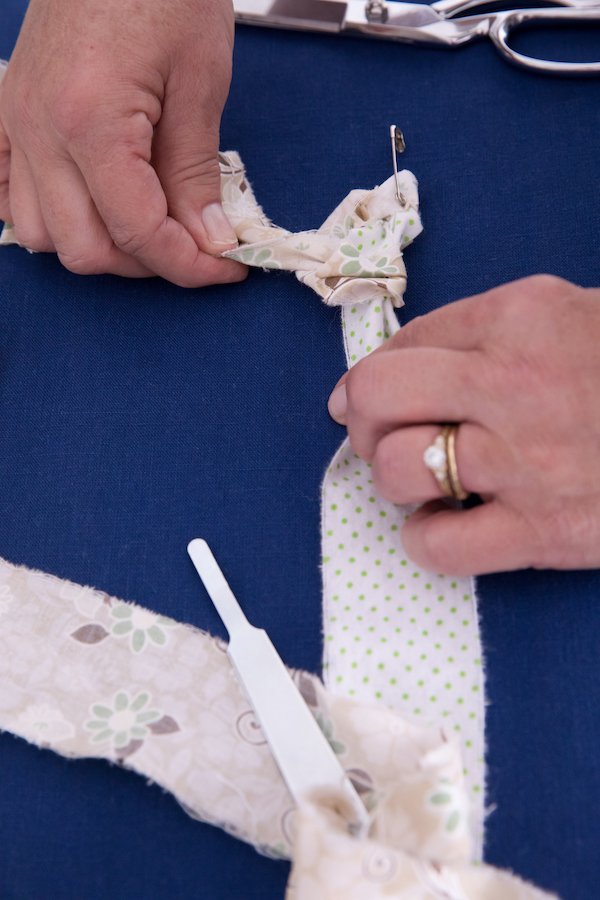
Step 4 I formed a small “D” shape with the knotting strip and threaded the tool under the base strip and over the D shape. You’ll want to tighten so that you see a nicely shaped knot. I continued making D shapes and knots on the base strip until I had the desired length of the rug. (If your base strip is too short, then knot another strip onto it, using the slits as noted in Step 2.) To keep track of my length, I memorized the number of knots I made, which was 25.
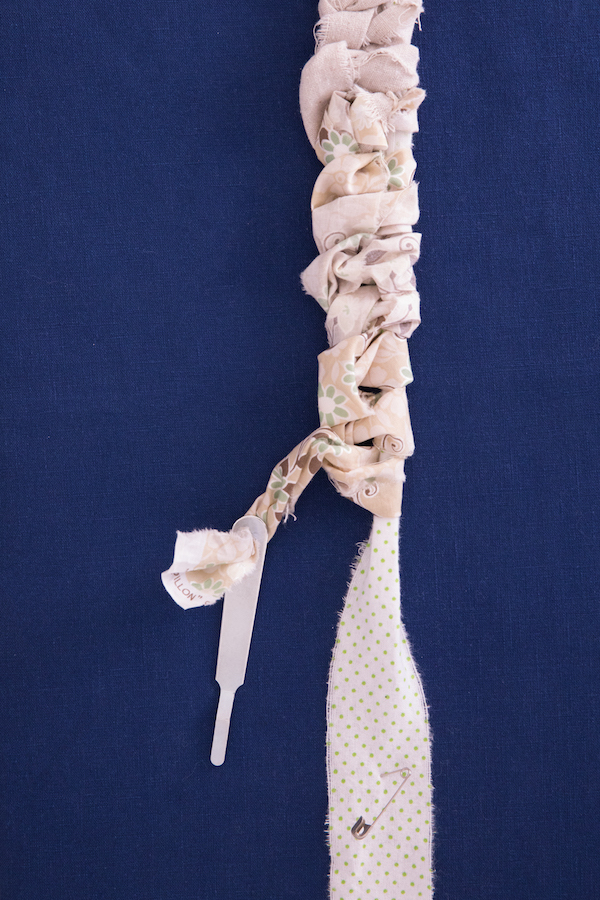
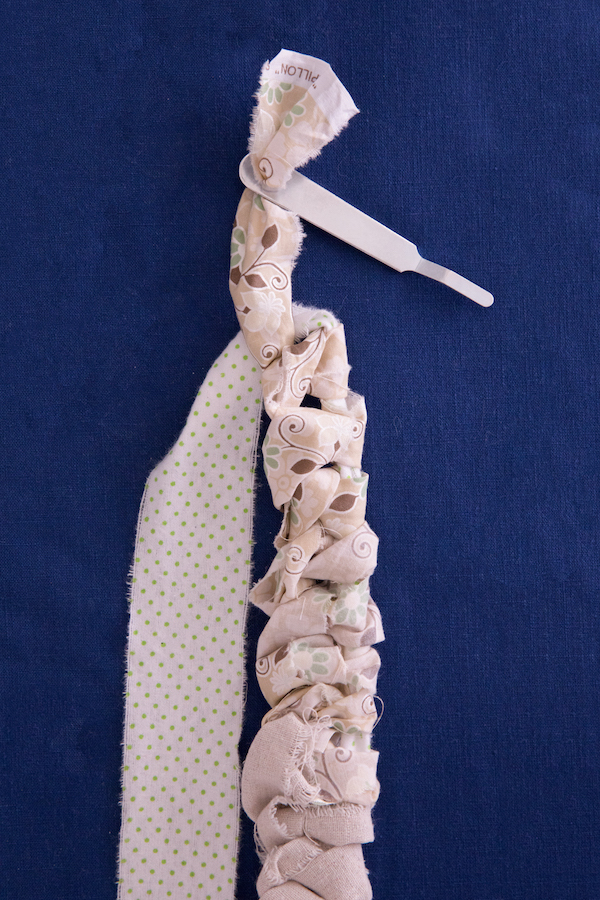
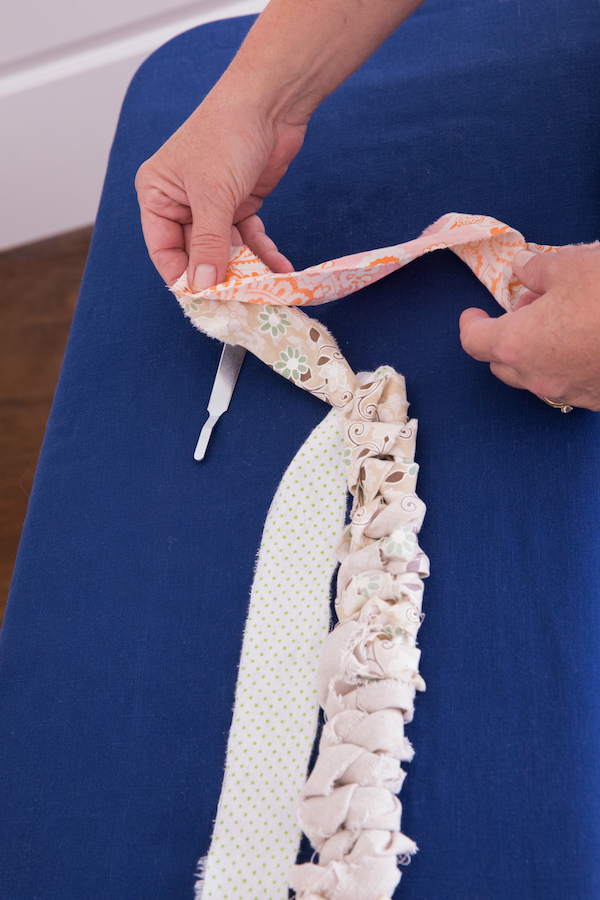
Step 5 At this point, I removed the safety pins and flipped my work. Both the knotting strip and the free edge of the base strip should be on the right-hand side. When the knotting strip got too short, I pulled off the tool, then connected the next strip of fabric that I wanted and kept going.
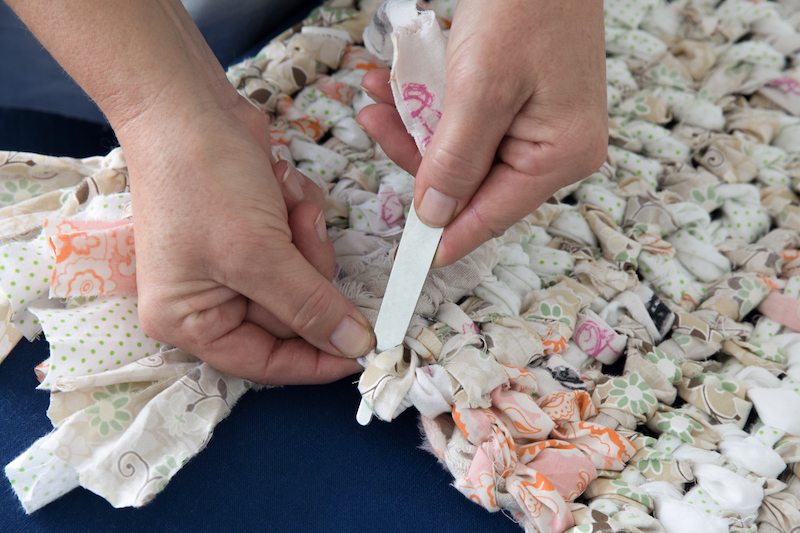
Step 6 I then began to connect my rows. Starting with the same D shape with my knotting strip, I threaded my tool through the first knot opening below, then under the base. I continued this process until reaching the last knot on the row (remember to count). Don’t forget to make a basic knot at the end of each row! This ensures that the rug doesn’t shrink with every row.
Step 7 I flipped the work again and repeated this process. (Safety pins are probably not necessary at this point.) You’ll just need to keep working until the rag rug reaches the desired size.
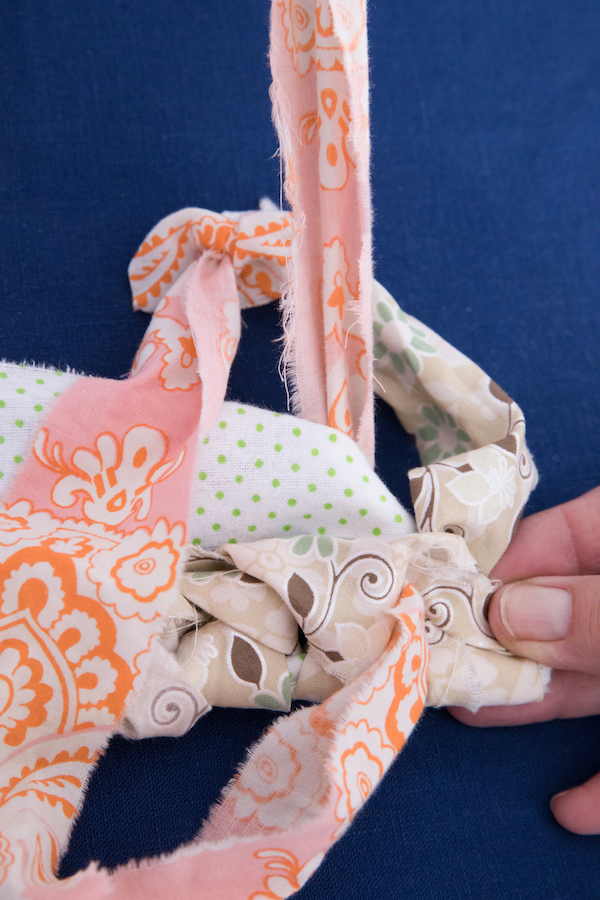
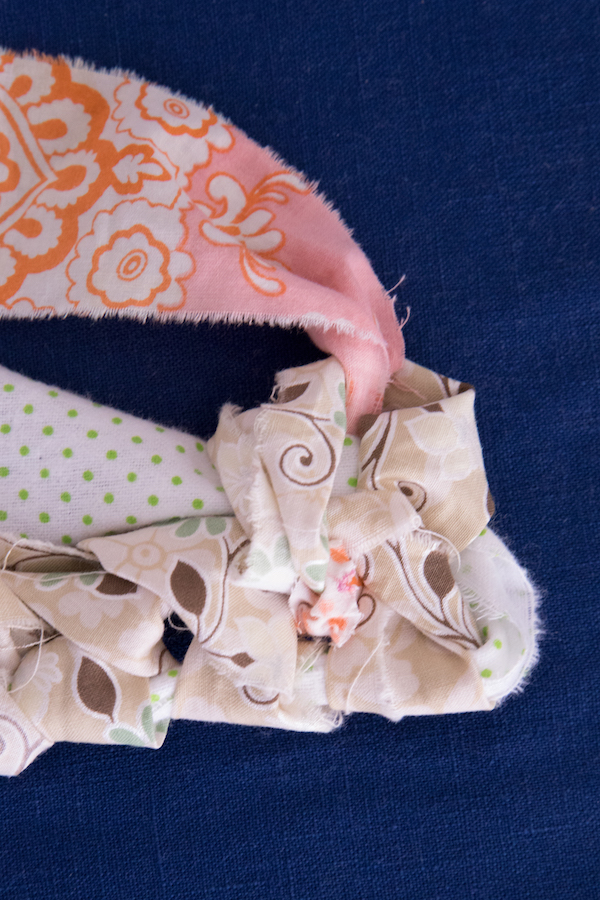
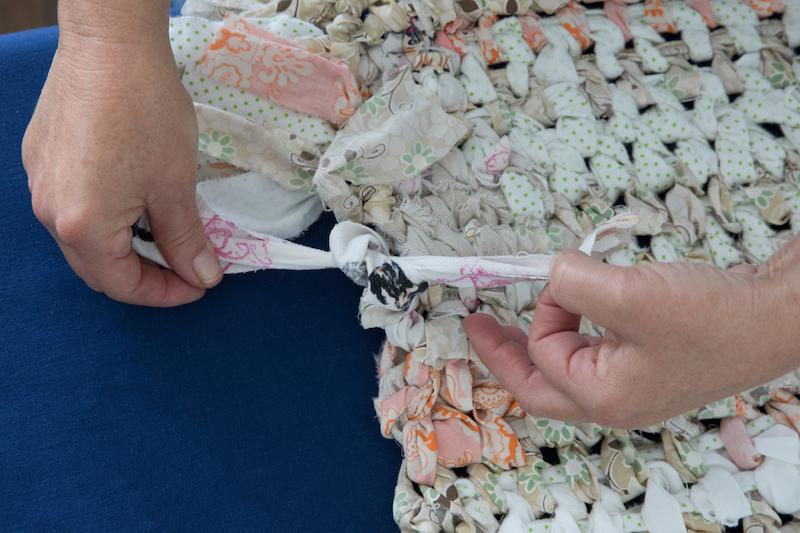
Step 8 For the final knot, I tied the base strip and the strip in a double knot and trimmed it to about 3″. Using shorter lengths of fabric, I added fringe on both ends of the rug by running them through each end knot, tying each strip at its center and then trimming them to 3″.
I found this craft to be really fun and satisfying. So rummage through your boxes of fabric remnants and start ragging!



Leave a Reply